2nd - Build Source Code
Now that you have nape and nape-evaluator source code, we are going to build each software.
NAPE-Evaluator CLI
The NAPE-Evaluator is a Python application. The goal of this build process is to create a WHL file (pronounced 'wheel'). This WHL file is the binary distribution format we will use to install the NAPE-Evaluator CLI.
Navigate your way into the nape-evaluator directory from your nape project directory. For example:
nape-not-another-policy-engine % cd nape-evaluator nape-evaluator %Once inside the nape-evaluator directory, run the command:
make build-releaseThis command will kick off the full build process and create the WHL file, and other *.tar.gz file. All the build system and runtime dependencies will be downloaded, and the nape-evaluator project will be compiled into two specific outputs.
The build ran successfully, you'll see a not like the one below pop up in your terminal:
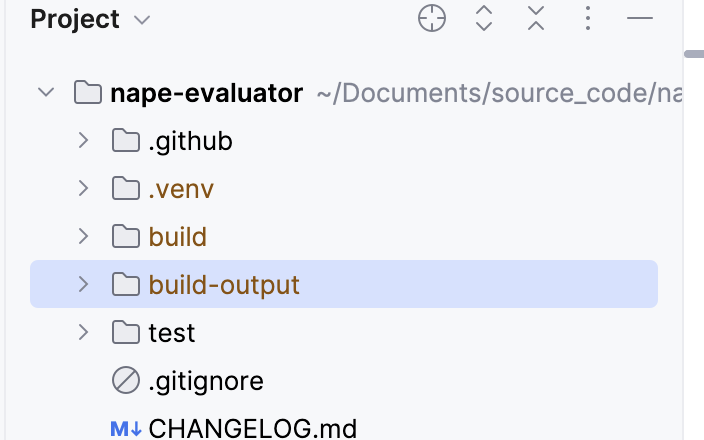
NAPE Evaluator - Release Build COMPLETE!You should now see couple new directories appear in your nape-evaluator source code directory. The one we are interested in is the build-output directory.

Navigate into that directory, like below:
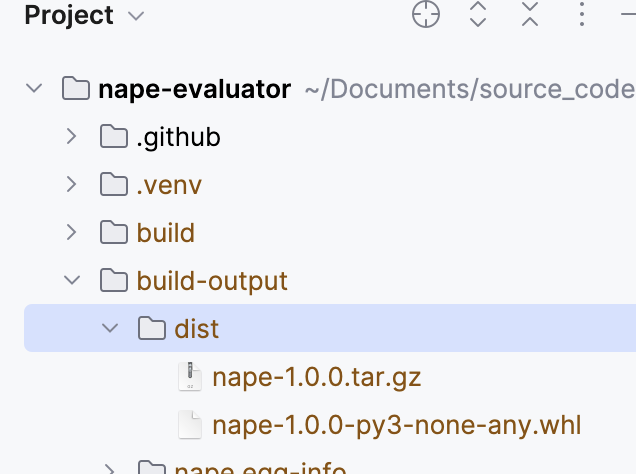
nape-evaluator % cd build-output build-output %Inside the build-directory, you'll see another directory called dist, navigate into that directory.

Inside the dist directory, you will see two files. A *.tar.gz file, and a *.whl file. The names of these files will start with nape- and be followed by a version number that follows the SemVer Versioning Specification such as 1.0.0.
The NAPE-Evaluator build is complete if the nape-X.X.X-py3-none-any.whl file is in the nape-evaluator/build-output/dist directory.
NAPE CLI
The NAPE CLI is main program that you, or a machine, will use to import and execute a NAPE Assurance Procedure.
Navigate your way into the nape directory from your nape project directory. For example:
nape-not-another-policy-engine % cd nape nape %Once inside the nape directory, run the command:
make build-releaseIf all goes well, you'll see the following message in your terminal:
Release Build COMPLETE!This command will kick off the full build process and create a new directory in your nape project directory called builds. To access this, you'll need to navigate up one directory level from the current nape directory back to the project directory, and then you'll see the builds directory which was created.
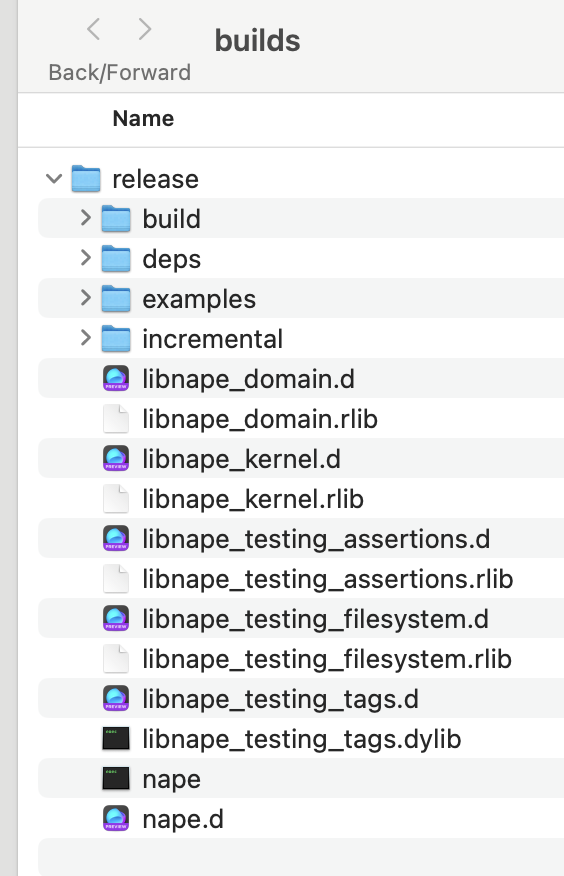
nape % cd .. nape-not-another-policy-engine % ls -a . builds nape (possibly other directories) ..Navigate to the builds directory, and inside it you'll see a subdirectory called release. Inside the release directory you'll see many other directories and files.

Towards the bottom, you'll see the nape executable. This is the software program will install in the next steps.
Next, Installing the NAPE Software
Now that we have installable binaries for the NAPE-Evaluator CLI and NAPE CLI, let's install them!